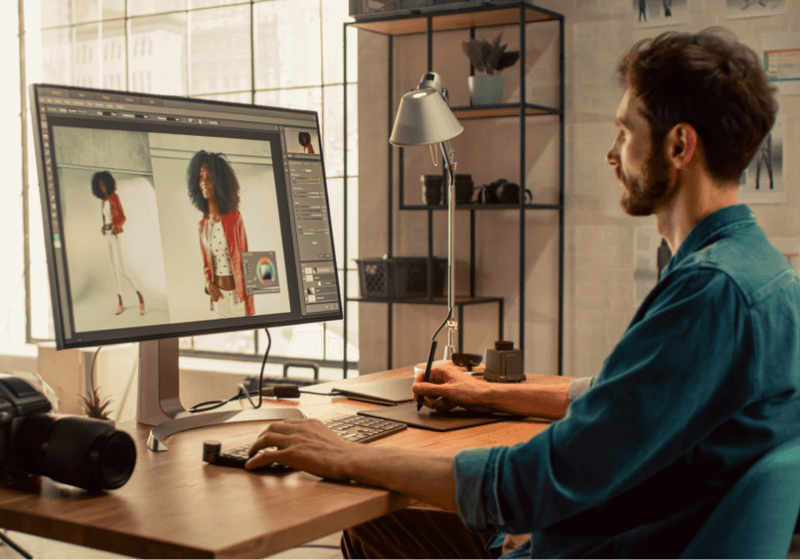
Editorial and commercial fashion require flawless images that show off the simplicity or extravagance of any piece while maintaining the aesthetic or the designer’s vision. While a talented photographer at the helm of any shoot can enhance the quality of the final product, fashion photo editing is necessary to minimize distracting blemishes that were either overlooked or were an unavoidable effect during production. However, how to edit fashion photos in Photoshop without making the final results appear unnatural can be a challenge for even seasoned editors that are just starting out on fashion photography editing in Photoshop.
At Paper Boat Creative, our editors have catered to high-fashion photographers, fashion houses, designers, magazines, models, and more. Our photo editing company uses the latest tool and apps to retouch and edit our clients’ images. Here are some tips that can help photographers and editors who want to learn basic tips on fashion editing using Photoshop.
1. Use Lightroom before moving to Photoshop.
There are a number of programs and apps you can use to retouch your images, and Adobe’s Lightroom and Photoshop are reliable options. Lightroom is best for organizing your images and making larger edits for things like brightness, contrast, or using preset filters that go with your brand’s aesthetic. Afterwards, you can use Photoshop to touch up pictures by taking care of the smaller flaws and fine-tuning your image to produce the finished polished quality.
While you can opt to use either or go with Photoshop before Lightroom, we recommend going with Lightroom first. While both programs have similar retouching features, Lightroom is best for handling general settings like the white balance, highlights, shadows, tone, contrast and other features. Once you’ve handled all these, you may find it easier.
2. Minimize editing your model.
Whether or not your images are meant for a model’s portfolio, it’s always best to minimize the amount of retouching you do on your model. These days, retouching your model is less about making your model look perfect, and more about minimizing distracting blemishes and errors that can take the focus away from the fashion. This means changes like removing stray hairs and red eyes, as well as adjusting the skin tone if it has been discolored by the lighting setup. Also, depending on your client’s request, we recommend performing the following:
- Skin smoothening: Minimizing the skin texture and facial lines while still keeping a natural appearance for your model.
- Body sculpting: Improving the shape without necessarily removing imperfections. Remember, good retouching doesn’t lead to unrealistic or overdone features.
- Hair retouching: This includes removing flyaway strands as well as covering thinning areas that can be distracting in the image.
- Makeup enhancement: Makeup can be smudged or creased during a shoot, and this can be easily fixed on Photoshop with the right skills.
- Teeth whitening: We can whiten teeth when necessary while still making it look natural and not too distracting from the main focus of your image.
Aside from these, it’s best to avoid any more enhancements unless requested by the client. In most cases, it’s best to let your model’s natural beauty shine and let their imperfections add character to your image. Just minimize the distracting areas, and you can get naturally stunning results.
3. Healing tools, Clone Stamp tool, Patch tool: How to know which one to use for editing fashion photos?
When learning how to edit fashion photos in Photoshop, you’ll find that there are many tools that appear to have similar uses. While these tools are used in retouching to remove subtle or large blemishes, it’s important to differentiate their uses and know which ones are best to use for fashion photography editing. Here’s a quick guide:
- Spot Healing Brush: Touch up small dust particles, flecks, and other extremely small details that may not be necessarily noticeable to the everyday viewer, but can actually affect the image as a whole. This is a convenient tool as Photoshop will select and blend the spot automatically.
- Healing Brush: Similar to the Clone Stamp tool, the Healing Brush tool can blend pixels as you brush over the blemish based on a selected area on the image. This is different from the Clone Stamp tool as the Clone Stamp selects a specific area, while the Healing Brush’s selected area moves automatically as you brush over the blemish.
- Patch Tool: Ideal for larger areas, you can draw around the blemish area and then drag that shape onto another area with pixels you want to replace the blemished area with. This is ideal for blemishes on a model’s skin or any stains on the clothing that can be easily hidden.
- Clone Stamp: Think of the Clone Stamp tool as the opposite of the Patch Tool. Rather than drawing around the blemish and finding new pixels to replace it with, you can use the Clone Stamp tool to copy a some pixels on the image, place it on top of the area you want to retouch, and then adjust the settings like opacity to hide the blemish.
4. Use Liquify to retouch the clothes.
Ideally, your clothes should have been ironed or steamed prior to your shoot to minimize creases or unwanted wrinkles. This can minimize the instances of wrinkles and reduces the risk of each wrinkle not getting caught during post-production retouching. However, it’s possible for creasing to happen during the shoot, so this will require some amount of fashion photography editing in post-production.
The best way to deal with these kinds of issues is to use the Liquify tool on Photoshop. The liquify tool can help you warp a certain area of an image. Because clothes on models are often dynamic, using alternative editing tools or strategies like frequency separation can be difficult or not produce the best results. Liquify, on the other hand, is good for subtle but effective retouching to give your clothes a neater appearance.
5. Know the right place to crop your images.
If your client has specifically asked for a specific image size or a shot until a certain area of the model’s body, then this may not necessarily apply. But if you have free control over the end result, it’s important to note what counts as a bad example of using the Crop tool. If you’ve done the fashion editing in Photoshop right, cropping can enhance your photo by getting rid of too much blank space and distracting elements. But done incorrectly, and you could be shifting focus away from the clothes and creating an illusion that can negatively affect your image.
Some tips to follow when using the cropping tool include:
- Don’t crop at your model’s joints. These include joints like the neck, shoulders, elbows, wrists, hips, knees, and all the other joints. This can make your model’s limbs or body look stumpy and make them look wider or shorter than they really are. Ideally, crop just above or below, depending on their pose.
- Crop your headshots accordingly. For model portfolios and other fashion photography images that zoom in on a model’s face, avoid cropping exactly at the chin. This can make their face appear wider and more squarish. Instead, crop their headshot just below the collar bone. As a rule of thumb, make sure that their eyes are within the first ⅓ of the image vertically.
- Don’t necessarily keep the whole body. Play around with the crop tool and see if the image looks better as a half-body or ¾-body shot, unless specified by the client. For instance, a full body shot may be necessary for fashion photography that displays a long gown, but if the best elements of a model’s outfit is in the upper-half of their outfit, you may get away with cropping the bottom if there’s nothing noteworthy about it.
Take High Fashion to New Heights with Paper Boat Creative
Regardless of your place in the fashion industry, fashion photography needs to bring out the best in your photo’s subject. That’s why fashion photography editing in Photoshop is a crucial post-production step to achieve sublime images.
At Paper Boat Creative, our team of talented editors can perform touch-ups just like this vintage fashion photo editing that can make your images more attractive to the right audience. Get in touch with us today to request a demo of our fashion photography editing services and witness the magic we can do to your images.


