Cityscape photos are supposed to be bright, vibrant, and sharp. However, photographing one is quite difficult since you have to consider a lot of things like time and weather when taking photos. You might encounter a few problems such as the colors not standing out, the sky might be too dark or bright, buildings might look dull and hazy, or distracting objects such as wires or cranes can be seen. We can fix this by making basic adjustments and removing unwanted parts in our photos using Adobe Lightroom and Photoshop. In this tutorial, we’re going to be editing a Cityscape photo to give you tips on how to improve your photos!
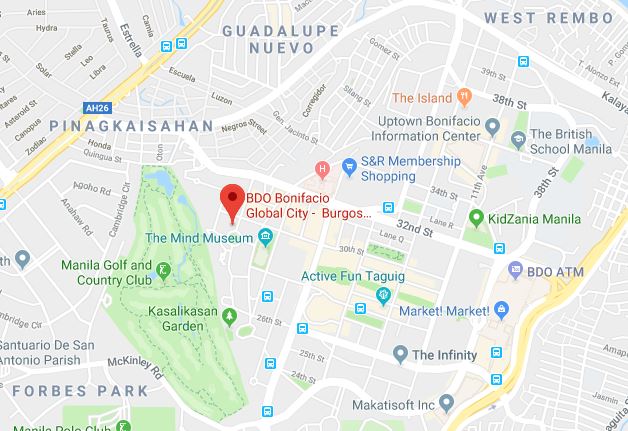
Here’s a photo of Bonifacio Global City’s cityscape that we have to enhance:

We’re going to be doing basic image adjustments in Adobe Lightroom and quick masking in Adobe Photoshop.
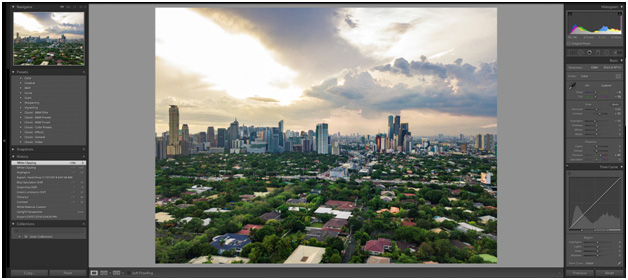
First, we import the file into Adobe Lightroom Classic CC to do the basic adjustments such as adjusting upright perspective, correcting color balance, adding contrast, and adding vibrance to the image.

We can see that the highlights on the left side of the sky is still too bright, flat, and doesn’t have any texture even if we bring the highlights down. Since there’s no detail to bring out from that area, to improve the image further, we’re going to replace the sky with another image with a similar texture in Adobe Photoshop. Once you’re done with the basic adjustments, export the file and open it on Adobe Photoshop.
Here’s the selected sky texture that we’re going to be applying onto our image:

We have to mask the sky and replace it with the a new sky with a better texture that we selected. There’s a lot of ways to do that in Photoshop but the quickest way is to use the Select and Mask tool. Once you open the file in Photoshop, go to Select > Select and Mask, then use the quick selection tool to select or brush the foreground and mask the area that we’re going to be replacing. You may use the Refine Edge Brush Tool to make sure that you’ve selected the foreground neatly and precisely. Zoom in so you can see the selection properly. After that, adjust the Global Refinements on the Properties Panel on the right side of the screen to refine the selection. Once you think that the selection is perfect, click OK.

You can see on the Layers Panel that a new layer mask has been created based on your selection from the Select and Mask tool.

After that, import or place the new sky texture and adjust accordingly to fit the mask. Make sure to reorder the layer so that the new sky layer is below the layer with the mask.

And we’re done! We have finished doing the basic adjustments in Adobe Lightroom and did a quick masking in Adobe Photoshop that enhanced the image of BGC’s Cityscape further.
Here’s a comparison of the before and after edits:


