We get a lot of requests from ecommerce clients to cut out and clean up their products. Every product needs a slightly different mix of technique to get the right output. In this tutorial we’ll show you how to do a simple, clean and straightforward photoshop edit of wooden toys using some common techniques like clipping path, airbrushing, adding shadows, and removing the background.
Now, what makes these objects unique is that wooden toys should stay natural and look hand painted. However, it’s possible that some images are incorrectly painted, or it might have gotten scratches on it. We’ve worked on plenty of images like this, and we do high end editing on every picture, big or small! So we can definitely give some pointers on how to correct these errors.
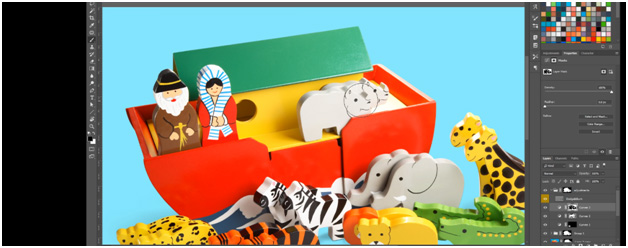
Here is a wooden toy photo that you want to retouch.
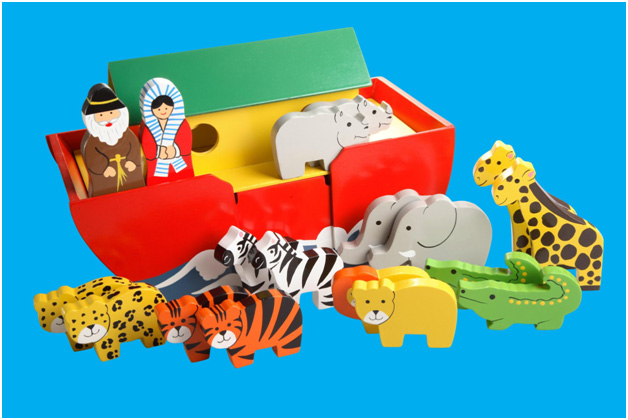
It might look fine already, but have a closer look…
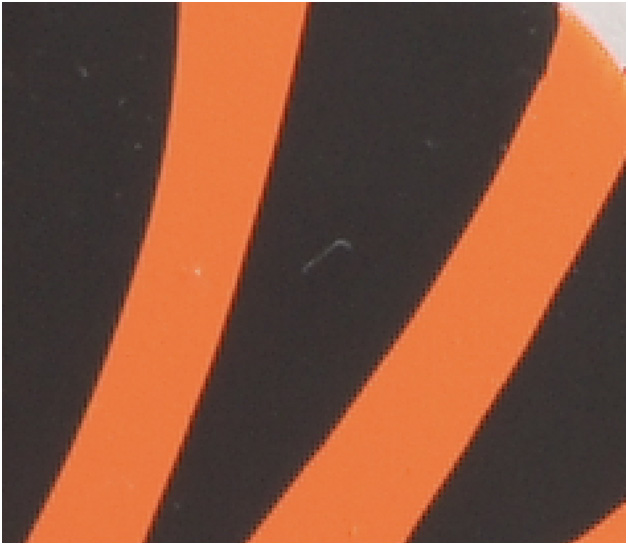
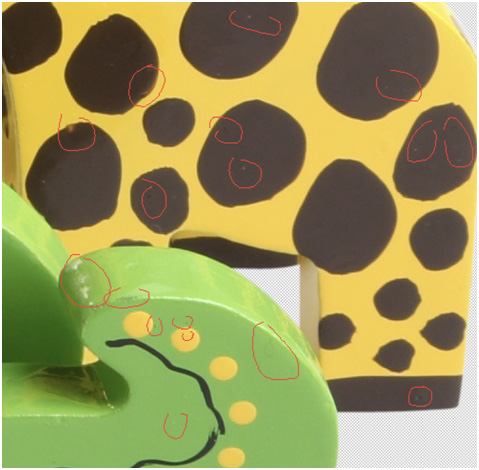
The toys are speckled with dust, scratches and very very slightly chipped edges. We need to fix this!
So let’s do two things on Photoshop:
- Cut out the photo
- Clean up the dust and scratches
Let’s go!
In this photo where you want the background changed there are few tricks for you to do it. One way is through the channels section.
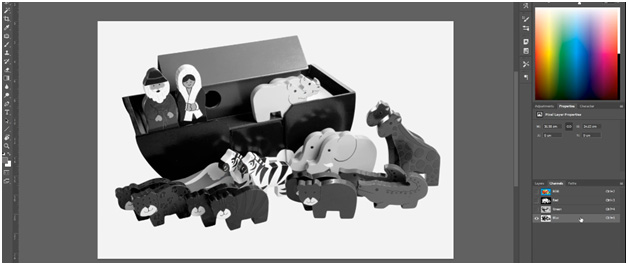
In the channels tool you can select which from the color channels has the greatest contrast so it will be easier to isolate the background from our wooden toys.
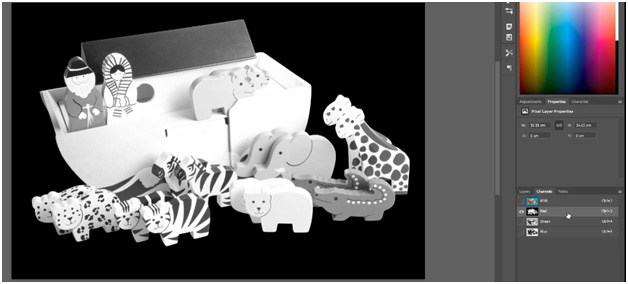
We can see here that the red channel contains the better information and it has the nicer separation of background and the toys as you can see.

Now make a copy of that red channel where you can modify it further so we can make a better masking. Make it more contrasty by using the levels adjustment.

Because the channel duplicate layer has a better contrast now, it’s easier to select it especially with the help of the Select and Mask tool. You can locate it in the Select Menu.

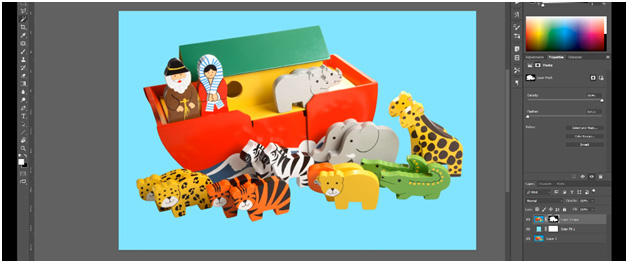
Now that we have created a mask for the toys we can modify the background easily now any time we wanted.
What we wanted to do now is to retouch the image, simply by removing the dusts, scratches and other obvious spots.

There are various tools in which we can retouch the photo- the patch tool, spot healing brush tool, clone stamp tool and the brush tool. When dealing with any certain photo we cannot say that we’ll use only one tool to fix the problems. In most cases it is really a mix of different tools and it’s based on your judgement after you learn how to maximize each tool.
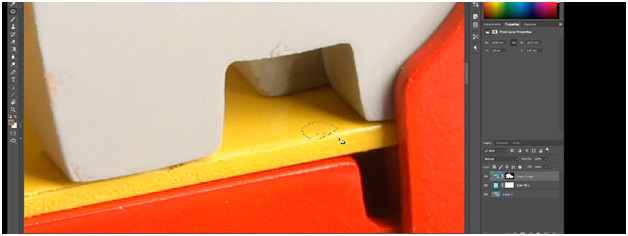
Just scan throughout the picture, fix the errors until there’s nothing to remove. Make sure you zoom in 200 percent for you to really see the areas that need fixing.
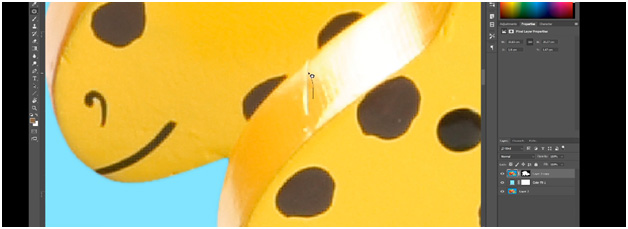
You can go on retouching this particular image maybe around 20-30 minutes depending on how fast you are.
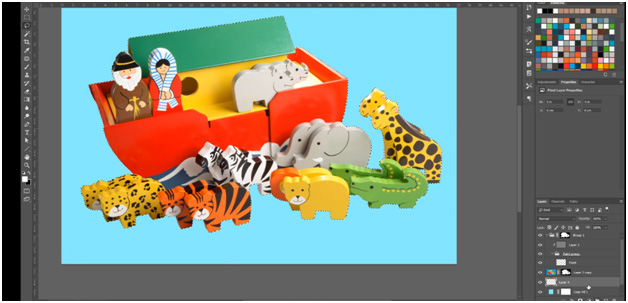
When you are finished with the retouching it’s time to make image grounded by adding shadow to it.
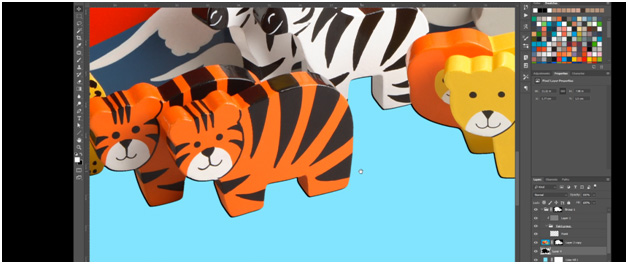
Create a selection and fill it with black and just modify it by erasing some parts that are not needed.
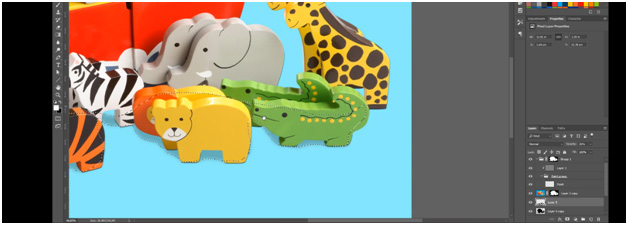
Now we want to create a second layer of shadow that will make it look more interesting. It should be less and more translucent and you can do that by adjusting the opacity.

It’s getting better now especially with the help of brushing and erasing some parts.
Now to make the toys more shiny and 3D looking we can use the dodge and burn technique. The trick is to make the bright parts brighter and the dark parts darker.
And that’s it, here is the comparison of the before and after edits:


